I am a cake obsessive, based in West Sussex, UK.

I started off making cakes for family and friends before giving up a proper career in favour of playing with sugar full time. Having worked for two bakeries making their wedding and celebration cakes, I am now looking toward world domination with breaks for coffee and chat.

If you are interested in seeing future projects, enter your email address in the box on the right for updates.

To see my website go to: www.kasserina.com. You can email me on info@kasserina.com.

I also sell some sugarcraft items on Etsy. Please go to https://www.etsy.com/uk/shop/KasserinaHome?ref=hdr_shop_menu

Thanks for looking!
Showing posts with label Sussex cake. Show all posts

Monday, April 18, 2016

The Torchbearer - April 2016


Boys are not hard to bake for, but sometimes they can be hard to decorate for.  For Joe, torches have become a real interest so I wanted to design something to reflect this, but a torch shaped cake... well, it's hard to make that not look a bit dodgy really.  So I went a different route.  I think he approved.

Joe, you are so loved and I'm looking forward to spending some holiday time with you in a few weeks.  Happy birthday lovely man xxxx

Saturday, February 27, 2016

A cake for Nina - February 2016


It's been an amazing time for my old friends, the Blaine Brothers.  They wrote, directed and released their first feature film "Nina Forever".  Since then, it's been lauded all over the world, winning awards and being championed by reviewers.  

Now it's available on Amazon on DVD, Blue-ray or via Streaming services.

Go to: http://www.amazon.co.uk/Nina-Forever-Abigail-Hardingham/dp/B019J5OK02.

I love this film, it's well worth buying

 The amazing Oliver Russell shot it, it's got an an incredible cast, is beautifully designed and styled and will honestly surprise you with it's humour and nuance.

To celebrate the DVD release the directors, Ben and Chris, did a whirlwind tour of the U.K. at selected cinemas with special showings of the film and a Q&A session afterwards.  I caught up with them at the Ritzy cinema in Brixton and, of course...brought cake.

Each element relates to a scene in the film.  So, starting from the top...

Toppers:


I remember now why I haven't made a tree with sugar for a while.  
It's so time consuming!
  
This was a big tree so I couldn't just cover wire in tape.  I used a wooden dowel core for the trunk, then various thicknesses of wire.  I covered the whole thing with sugarpaste, which is easier said than done.  The paste didn't want to stick to the wire so i had to create a key by heating the wires with a blowtorch, rubbing sugarpaste onto the hot wires so a little melted on and created a crust, then I could stick the paste on.  

Please note: Obviously, the waxed tape is flammable, as is the sugar and the wood plus there's a real danger of burning yourself with the hot wires.  This is an adult only exercise, with the aid of water, safety equipment and a first aid box handy.  
I do not recommend you replicate this!


Nina's grave, complete with daffodils, as per the film.


Top Tier:


First I airbrushed a base of green, blue and a little grey.

Then I hand painted graveyard scenes from the film in loose water colours and extruded  the "Nina Forever" lettering.


Middle Tier:


Since Nina was released it's inspired lots of people to produce artworks which they've been sharing with Ben and Chris.  One of these that I particularly liked, I reproduced on a plaque.  It's not a patch on the original I'm afraid, but still worked very well.


Bottom Tier:

One of the pivotal scenes in the film takes place in a hotel room that has a striking wall with a lake scene on it.  

You might have gathered by now that Nina's naked in the film, save for some long tresses, some streaky make up and the blood from her accident.  In the scene in the hotel room, Nina ends up sitting blooding on the floor against the back wall.


I airbrushed water, shore and sky, then piped foliage.


I modelled Nina's face, then started adding her red and black make up.


I added the blood by colouring piping gel as it gives a less opaque, "fresher" look than just painting.


She had a skewer inside to hold her upright.


The cake ready for transporting the 2 hours+ to London (minus the tree, which I put on when I got there and with a couple of pins still in place while the royal icing was setting).


It's the bane of my life when I have to set up cakes under halogen down-lighters.  
It's such harsh lighting, badly colour balanced, with awful shadows so the cakes either look burned out or really dark in photographs.  


It makes perfect cakes look really pedestrian... 
but there you are, nothing to be done about it now.

...and anyway, it tasted great!


To the Blaine Brothers, Mr Russell, Imogen Loveday, Ryan Chandler, Mrs Blaine, Alex Mayover, Kevin Williamson and all you other wonderfully talented people involved in Nina, it's amazing, you're amazing, and I'm really proud to be your friend! xxxx


Wednesday, February 10, 2016

Unicycle / circus topper - Jan 2016


Can's send a whole cake to my godson in France so I made a 6" 2D topper that can be put in his birthday cake.  

He's mad about unicycles right now and his birthday present was his own unicycle with a yellow seat... I think you can see what I did with that.

I airbrushed a rainbow effect onto the base disk, added the starburst pieces and built the unicycle on top.

Happy birthday Archie! xxxx


NOTE:  This and many other toppers are available in my Etsy shop.
https://www.etsy.com/uk/shop/KasserinaHome?ref=hdr_shop_menu


Tuesday, December 22, 2015

Simple Rainbow stacked cake with sprinkles - December 2015


Simple but effective!

Six layers of rainbow vanilla love, stacked high, covered with smoothed buttercream and showered with rainbow sprinkles... perfect.


Now, the only issue with this little lovely is that when you make a cake higher than it is wide, it tends to want a little lie down when you drive it around corners (especially when you've made it to taste this good).  

This cake had quite a way to go, so in order to make sure that the cake was safely transported I gave it a central bubble straw support to make sure that the layers didn't slide around on the buttercream.  

I also screwed a dowel into the cake drum and positioned the bubble straw and cake over it so nothing could shift during delivery.


I hadn't even got back from delivering the cake before the customer sent me this photo. It seems to have gone down well!


Hoo ha! 


Thursday, October 08, 2015

Giraffe birthday cake - October 2015

Small three layer 6" chocolate fudge birthday cake with a theme... 
think you can tell what that might be!


NOTE:  This and many other toppers are available in my Etsy shop.
https://www.etsy.com/uk/shop/KasserinaHome?ref=hdr_shop_menu

Friday, September 18, 2015

Wedding Fair Season has arrived.. or is it Fayre...?

Count me as confused about the spellings but, whether it's "fair" or "fayre", the Kasserina design studio is all aflutter about up and coming wedding fairs/fayres/shows.  

I can now confirm that you can catch me at the Quirky Boutique Wedding Fair, Brighton Centre, Kings Road, BN1 2GR on Sunday 4th October.  It's a great fair, centring on couples who are looking for a wedding that reflects them and their lives, so no paint by numbers wedding goods here.  

Go to http://www.bellesevents.co.uk/quirky-boutique-wedding-fair-in-brighton/ for more details.


You can also find me the following week at a brand new fair at Barnham Hall, West Sussex, PO22 0AY on Sunday 11th October.

It's all go finishing off the new designs, can't wait to start showing them off.  Hope to see some of you there, do say hi.

x

Wednesday, July 15, 2015

Monday, July 13, 2015

Blush and mint wedding - July 2015

A special cake this week, a gift for lovely friends.


The colour theme was blush pink and mint with vintage gold. 

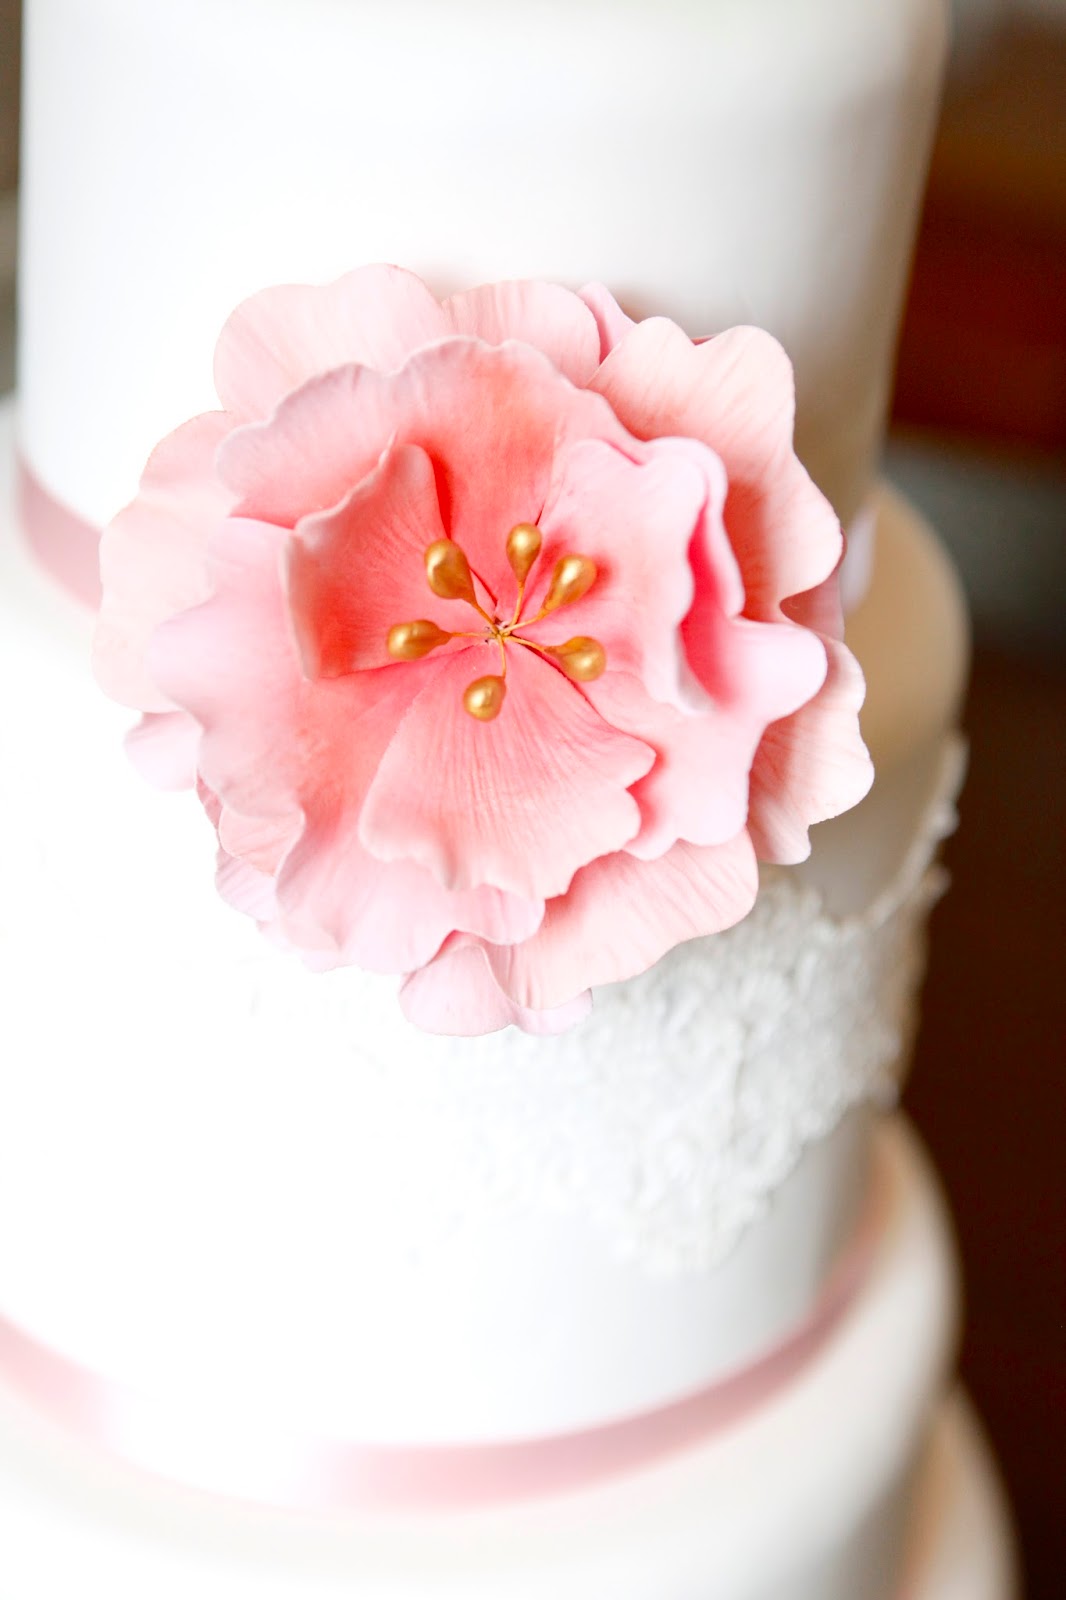
I made the flowers a couple of weeks ago, pink open peonies with gold stamens and star blossoms. 


I made them a bit more robust that I might usually as I knew I would have to transport them quite a long way and on a ferry to the Isle of Wight.  I really didn't want them to break befor I could get then on the cake.

The tiers were all sponge cakes,from top to bottom: Victoria sponge, chocolate fudge, lemon and almond drizzle and red velvet.

It was a record breaking heat wave, which always makes things fun when you're playing with buttercream, but having to take the cake on a ferry where you're not allowed to keep the engine running and the aircon going was an added bonus.  

Still, (as I am inclined to do whenever I can) I used a white and dark chocolate ganache crumb coat or marzipan to give a crisp finish and extra support under the fondant.


The upside down crumb-coat gives a defined edge to the cake and ensures that you keep the cakes as perfect circles and don't end up with egg shaped tiers instead!

The lemon tier I covered with marzipan and gave it a rounded edge for contrast.

I airbrushed mint edible colour through lace fabric for the 8", chocolate tier and then a pale antique silver / gold lustre over the entire cake to make the whole thing shimmer and to take the "GOLD!" edge off the cake lace elements.

The journey was fine, air-con helps, and the only breakage was one peony petal, but of course I had spares so not a major issue.  

I stacked the cake on site and added the flowers, thank god I took an electric fan with me though as it was boiling hot down by the kitchen and I'd have lost all sense without it!

Then it was champagne and laughter all the way with lots of old friends who had gathered from across Europe to be with the happy couple on their big day.   


It does make a change these days to be there when the cake is eaten.  Lots of people kept rushing up to me to say how good it was, including the kitchen staff at the hotel.  I'm told the groom said it was the best cake he'd ever tasted... naturally 😉 (Thanks lovely x)

Honestly, it was such a beautiful wedding.  We are so glad to have been there and been able to share in it.  Wishing you both many, many beautiful days in the future. xxxx 

Sunday, May 31, 2015

More flowers; vintage rose spray, filler flowers, cherry blossom and modern open peony - May 2015

Various flower tests, mounted on a tiered dummy cake.  

First, a test of my new filler flowers in a spray


Two types of cherry blossom.  
I've been testing methods for finish and how long it takes to do them... still undecided.


One of the pink and gold peony testers


Sunday, May 10, 2015

Cheers 'en! - May 2015

For my beautiful friend and bride-to-be Sal, a cake to sum up how so many nights have ended... with her asleep in her dinner!

Sal has many talents (she really does), but one of the most famous ones is that fact that she can be comatose in any position, but won't spill a drop of wine.  The first time I witnessed Sally falling asleep in her dinner with a glass of wine in her hand was in an Italian restaurant in Palmers Green, so for her Hen party I thought this would be a good thing to represent in cake.


The "How To..." part:

First I cut some foam core to size for the walls, covered it in fondant, pressed in some decoration with a patchwork cutter and brushed with a little gold lustre dust.  
I added some wood cladding and hand painted some extra tones of brown onto it.


I stuck on some hand painted sugar pictures, a specials board and a potted plant.


I got some metal right angles from the hardware store and screwed them into a cake drum.  NB.  These would not come into contact with the cake as the back walls and a cake card would act as a barrier.


Using a glue gun and some screws, I fixed more foam core to the right angles...


covered the back in more fondant, textured it with a brick effect and brushed it with some blossom tint.


Then I attached the interior walls to the exterior and filled in the gaps between front and back with some mortar style fondant.


Onto this platform I put the actual cake, a 10", 2 layer chocolate fudge cake with vanilla buttercream (nom, nom, nom!), having painted in some black floor tiles.  I placed the whole  lot on a couple of covered drums.


Meanwhile, I had been making the toppers.  I used foam core and armature to support them.


I put a little ½ cocoform, ½ flowerpaste dough onto the armature as a base, 


then I modelled one limb at a time, added a dress and the hair.


The glasses... I'm sorry to say, they are not edible.  I've tried to make them out of edibles, but haven't yet been happy with the outcome. Thankfully, I have the most amazing dolls' house shop in easy driving distance!  Promise though, they are my only cheat!


The party was centred around the wonderful Hotel Pelirocco in Brighton, and the cake fitted very well into the decor there!


Of course, we were a few cocktails down by the time it got cut...


so there were seconds for breakfast!

Spot the difference...


Sal, I love you... Ladies, I salute you... I feel like hell warmed up now, but I've laughed so hard and can't wait for the wedding!!! xxxx