
Showing posts with label icing. Show all posts
Showing posts with label icing. Show all posts
Wednesday, May 14, 2014
Knife work buttercream pleated effect - May 2014
More buttercream experiments at the Angel Food Bakery in Brighton's iconic South Lanes.

Sunday, April 27, 2014


Thursday, March 13, 2014
First attempt at upside down crumb coating - March 2014
Today I have been researching the upside down frosting method.
These are some old layers of sponge that I had frozen for just such a purpose. They will not be eaten so please excuse the slightly odd colour combo.

I put a layer of buttercream onto waxed paper, refrigerated it slightly, then stacked layers on top.

I put a light crumb coating on.

Then a second coat.

Then a foamcore board on the top (soon to be the bottom) of the cake.
Using this board (which is a couple of millimetres bigger than the trimmed cake layers) as a guide, I applied the top coat and made the sides perfectly 90∘ to the top.
I put the cake in the fridge for a while to set, then turned it over to reveal... oh! Horrible! Air holes and wrinkles completely marring the top.
Time to start again.

Take 2
This time I made my buttercream much softer and smoothed it on in layers so avoided the air bubbles. Much better, but the waxed paper still absorbed moisture and wrinkled leaving the buttercream with some stripes and looking rather pitted...

Take 3
This time I completely ignored the advice I'd found on line and used an acetate sheet with trex on it to make it non-stick. A much better result. There were a couple of air pockets still, but the overall finish was much better and I was able to fill in the air pockets very easily. Also, it was easier to use my cake scraper as it wasn't catching the edges like it had done with the waxed paper.

Unfortunately, with all this messing around I had rather mussed up the initial finish of the sides as I had "dragged" the buttercream... well, it's only a tester so I'm not going to mess around fixing that. Even so, you can see the sharp corner the method achieved and using the board on top ensures a perfectly round cake (despite the iphone photo making it look oval).

All in all I can see the value of this method and will use it again. I might even demo it in my classes.
Post script...

Been practicing this now and it really is pretty good. There are a few things to remember though.
It's important to have your top frosting really soft, almost liquid, and put on a thin layer first so you can make sure there are no air bubbles (particularly if you're not planning to cover the buttercream in fondant). You can then add more frosting in top. It takes quite a while for the top frosting to set hard in the centre (depending on what it's insulated by) so I make sure that the top frosting is completely hard before putting the cake on, with a little soft frosting as glue.
I'm now putting the frosting straight onto clear florist's film (food safe obviously), preferably seletaped onto a clear acetate or glass board so you can see through to spot any bubbles, but seletaped onto a cake card will work too. Be sure to tape it on the underside so there's nothing to get in the way of your side smoothing later on.
My other big tip is to do the sides in three coats if you're not fondanting. You want a nice smooth surface as your final finish.
First coat, thin crumb coat. Second coat, thicker frosting to build up the sides. Third coat a very soft, almost liquid top coat that will coat very smoothly without dragging or air bubbles.
Don't forget to chill it between each application.
When you peal off the florists film from the top it will have a slightly dull, slightly potted look so you can run a warmed scraper or palet knife over it to bring back the shine if necessary.
I'm sure that there are people out there who will be mystified by me doing all this, or even dismissive, but I'm looking for a really good level of finish. If I'm going to experiment then I want it to look perfect at the end and worth the effort.
Saturday, March 08, 2014
Vagina cake (sorry!), subtitled "what the customer asked for" - March2014

There really is no accounting for taste!
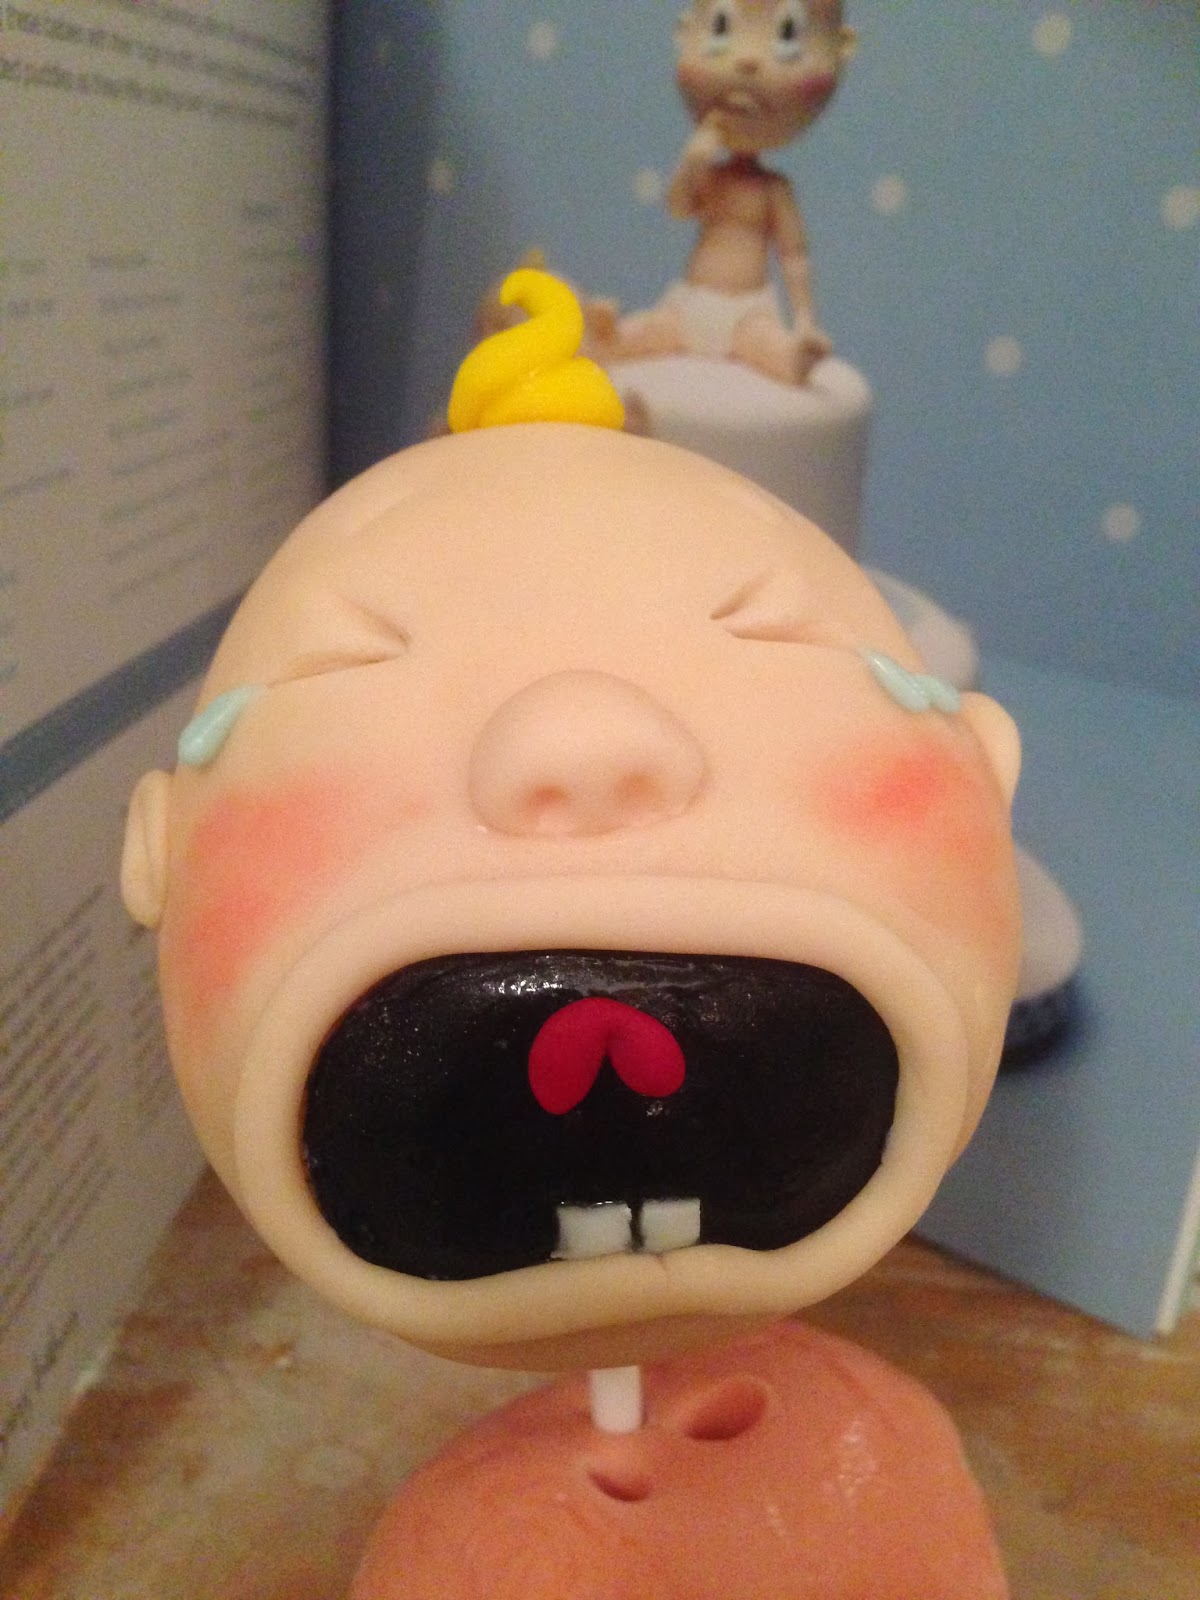
Based on the amazing Debbie Brown's crying babies.

24 cupcakes to go with the giant cupcake.
These ones feature emerging babies and monsters.
As I said, what the customer wants...
Friday, January 10, 2014
Funky orange birthday cake - January 2014

Birthday cake for a lovely young lady, who just turned 8 and is having a party with an orange theme.
Top tier orange and raspberry, middle tier chocolate fudge, bottom tier vanilla, all with white chocolate butter cream frosting.
More photos to follow...
----
For the bottom tier I stacked thin layers of pink and orange sponge (forgot to take photo of stack before I started to crumb coat it though, doh!). See below for a post-cutting and singing photo of the inside layers.

Middle tier was chocolate fudge cake.

Top tier was orange sponge with fresh raspberries.

I used a white chocolate butter cream on all three tiers.
My kitchen with cakes in various stages of setting up.

After the buttercream was set up and the fondant on all three tiers, it was time for an airbrush make-over.

I got a rather attractive false tan in the process… the cakes… me... the kitchen... the whole ground floor of my house... everything round here now has that "just spray tanned" look about it.
Only just got rid of the red film over everything after the Halloween cake!

Once the colour had dried, I stacked the tiers. This time I used foam core cut to size as cake boards and used a dowel through all three tiers to pin them together for the long rush hour journey. Far less stressful that way.

Had already made flower and left it to harden for a couple of days. The foil reminds me of the boredom when you get your hair dyed at a salon.

Used a straw as a reinforced place to put the flower. Travelled with flower safely in a bowl, then pushed wire stem into straw when setting up at the other end. Held it beautifully, and any cracks in the airbrushed surface are hidden once the flower is in place.

Didn't end up too badly.


The usual post cutting carnage... sounds like the girls had lots of fun though!
Subscribe to:
Posts (Atom)