I am a cake obsessive, based in West Sussex, UK.

I started off making cakes for family and friends before giving up a proper career in favour of playing with sugar full time. Having worked for two bakeries making their wedding and celebration cakes, I am now looking toward world domination with breaks for coffee and chat.

If you are interested in seeing future projects, enter your email address in the box on the right for updates.

To see my website go to: www.kasserina.com. You can email me on info@kasserina.com.

I also sell some sugarcraft items on Etsy. Please go to https://www.etsy.com/uk/shop/KasserinaHome?ref=hdr_shop_menu

Thanks for looking!
Showing posts with label sugarpaste. Show all posts

Thursday, February 11, 2016

My new favourite tool - February 2016

I love when you get a tool great tip and this is my newest favourite...acupuncture needles.  


Food safe, strong and much finer than usual pins (especially the large headed ones we need to use in sugarcraft), these are fantastic for getting the air bubbles out of fondant, without leaving those awful pock-marks that catch the eye and ruin the finish on your cake.  

I know it's sad, but I was so excited to share this.

Friday, April 03, 2015

Sweet sixteen pink confetti cake - April 2015

Birthday cake for a "Sweet Sixteen" party.

4" top tier: lemon and almond sponge (my favourite) with orange frosting 
and pink sugarpaste confetti.  

6" bottom tier: chocolate fudge cake with white chocolate frosting and white fondant covering.  


Saturday, July 19, 2014

Mr Tumble - July 2014

Mr Tumble (Justin Fletcher) in cake form for The Bean's third birthday.  


My first ever go at sculpting a face,  
So obviously I decide to use the oh so easy medium of sugar.  
Don't think I did too badly, except the chin's not right...

Muscles and basic face form. Scary.


The head measured nearly 5" top to bottom.  
To keep the weight down I formed the sugarpaste over a poly ball, 
but it was still mighty heavy!

Covered in sugar skin. Only slightly less scary.


The nose looks much bigger in these photos than it was to the eye.


Leave that to harden for a couple of days, 
along with his spotty tie.


Next job, bake cake and make a lot of ganache.


Stacked cakes for his torso onto a dowel screwed in the cake board. 

There are some steep hills between here and there.
I really don't want him falling over in the car.

I halved a round cake for his legs, then carved them to size before covering, using the off-cuts to fill in the gap between legs and body.

Let the fondanting begin!


Gave him his eyes and mouth and painted on some detail.


Extruded fondant for hair.


I spent ages making some great fondant hands for him but they were too big 
(bad fractional maths on my part I suspect), 
so had to make some more very quickly out of modelling choc.

Bow tie, freckles and red nose still to come, but he's nearly ready to go to the party. 

Ran out of time to make his spotty bag I'm afraid as work got in the way of social.  
Doh!


Monday, July 14, 2014

Hydrangea and petunia cake - July 2014

New demo cake for the Angel Food Bakery, using a left over fondanted cake from another class of eager sugarcrafters and my new hydrangea and petunia cutter and veiner sets.  Leaves are lace effect royal icing.  


Only a quick rough version, but cute huh!


Building up the demo cakes nicely.


This cake was made for The Angel Food Bakery in Brighton's iconic South Lanes,
where the Cake Angels bring Cake Love to the public on a daily basis!

Wednesday, June 11, 2014

Boo's Strawberry cake - June 2014

So our little Boo is about to turn four (can't believe she's so grown up!), but I'm going to be away in Spain so I've been charged with making a topper for her birthday cake which I'll deliver a week before it's needed. 

At first she wanted Mr Tumble's spotty bag, then a dinosaur, but then she saw a photo of my buttercream strawberry cake from last month and decided she wanted that.  Couldn't do that a week in advance so I've made this instead.


First I made the flowers and leaves and left them to harden for a day.  I decided to keep them simple and not airbrush them.


I made the strawberries out of rice krispie treat (made with marshmallow fluff, not gelatine so they are vegetarian), flavoured with strawberry and coloured pink.


Once the rice krispie treats were set hard I carved off a bit of the bottom, so they'd lie at the right angle, covered them in fondant and airbrushed them a deep red with a little black shading.


I love my airbrush!


When the strawberries were dry, I piped the seeds on with royal icing and added calyxes.


I arranged the finished pieces on a fondant disk that can just be popped onto a layer cake.  

Now I just need to wrap the presents and I'm ready to deliver.  
Hoo ha.


Happy birthday my darling girl.  We love you very much.


P.S.  There are 2 strawberries because I'm pretty sure her sister will want one too!


Saturday, March 08, 2014

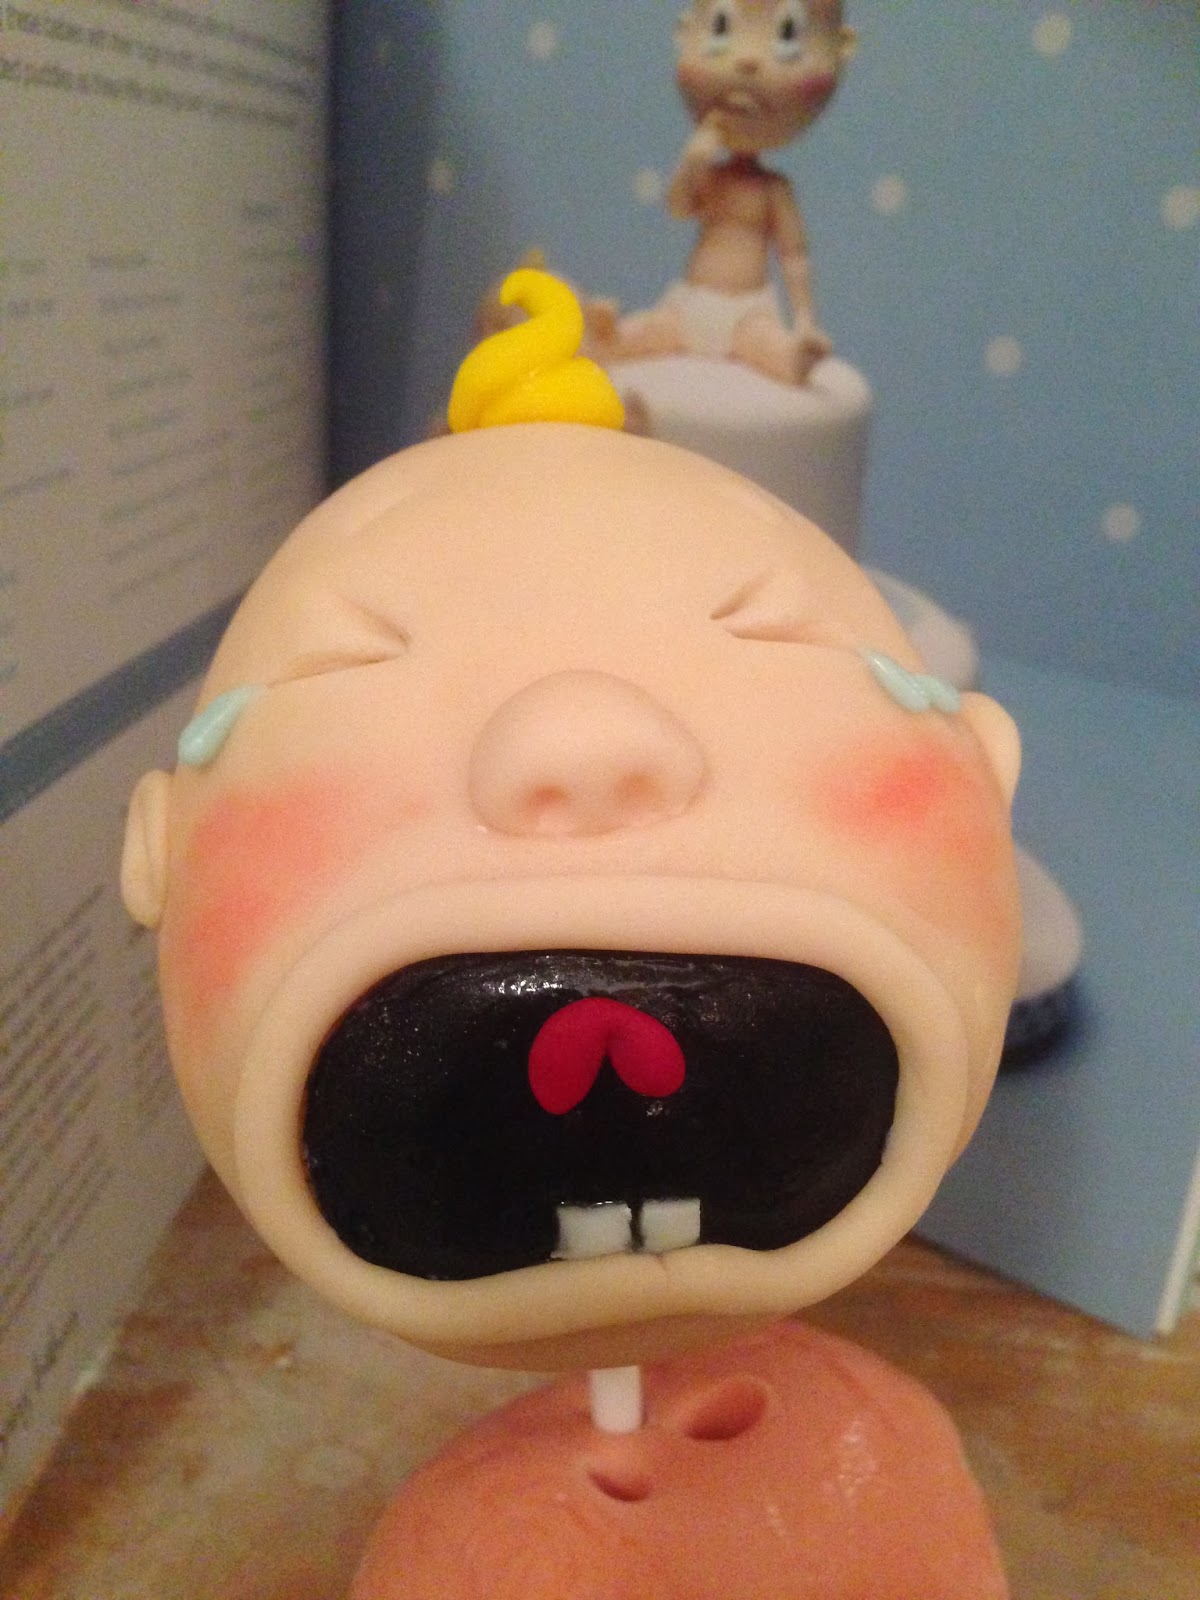
Vagina cake (sorry!), subtitled "what the customer asked for" - March2014


There really is no accounting for taste!


Based on the amazing Debbie Brown's crying babies.


24 cupcakes to go with the giant cupcake.  
These ones feature emerging babies and monsters.  
As I said, what the customer wants...

Friday, January 10, 2014

Funky orange birthday cake - January 2014


Birthday cake for a lovely young lady, who just turned 8 and is having a party with an orange theme.

Top tier orange and raspberry, middle tier chocolate fudge, bottom tier vanilla, all with white chocolate butter cream frosting.

More photos to follow...

----


For the bottom tier I stacked thin layers of pink and orange sponge (forgot to take photo of stack before I started to crumb coat it though, doh!).  See below for a post-cutting and singing photo of the inside layers.


Middle tier was chocolate fudge cake.


Top tier was orange sponge with fresh raspberries.  


I used a white chocolate butter cream on all three tiers.  

My kitchen with cakes in various stages of setting up.


After the buttercream was set up and the fondant on all three tiers, it was time for an airbrush make-over.


I got a rather attractive false tan in the process… the cakes… me... the kitchen... the whole ground floor of my house... everything round here now has that "just spray tanned" look about it.  

Only just got rid of the red film over everything after the Halloween cake!


Once the colour had dried, I stacked the tiers.  This time I used foam core cut to size as cake boards and used a dowel through all three tiers to pin them together for the long rush hour journey.  Far less stressful that way.


Had already made flower and left it to harden for a couple of days.  The foil reminds me of the boredom when you get your hair dyed at a salon.


Used a straw as a reinforced place to put the flower.  Travelled with flower safely in a bowl, then pushed wire stem into straw when setting up at the other end.  Held it beautifully, and any cracks in the airbrushed surface are hidden once the flower is in place.


Didn't end up too badly.


The usual post cutting carnage...  sounds like the girls had lots of fun though!